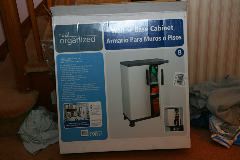
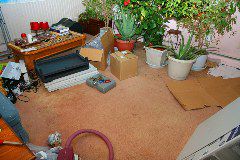
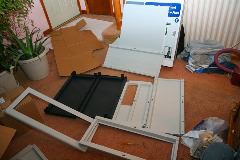
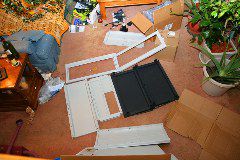
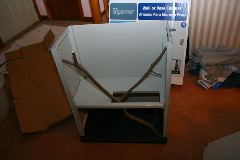
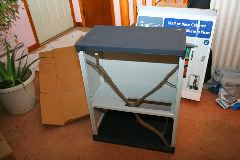
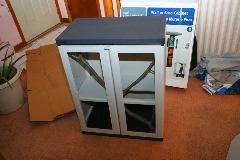
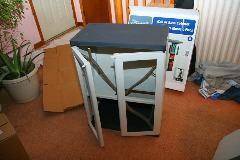
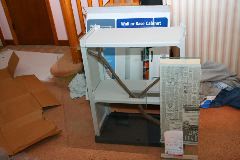
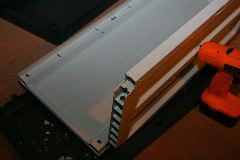
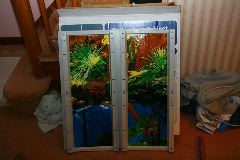
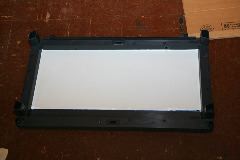
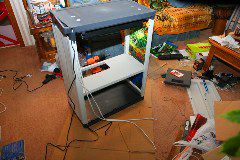
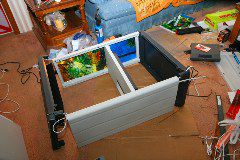
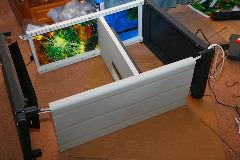
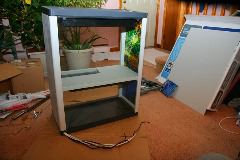
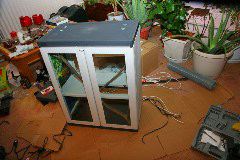
Custom Built Snake Cage

Page 1  |  Page 2
1- Plastic tool cabinet bought from Lowes 2- Getting the work space ready... my living room 3- The cabinet parts with holes already cut in doors and shelf.
4- All this stuff WILL be a reptile cage! 5- Heating and lighting components I bought, and custom cut 1/4 inch glass against couch. 6- Assembly... side walls up.
7- Shelf, without hole. 8- Shelf, with hole cut in it. 9- Stock rear panel installed, will be replaced with glass.
10- Custom cut (by me) branch fitted into shelf hole. 11- Lid in place, but not snapped in tight. 12- Door panels with holes cut out for glass.
13- Doors in place, without glass. 14- It's a good fit. I think this is going to work! 15- Here's the glass I had custom cut. 1/4 inch, polished edges.
16- I drilled a hole into the support ribs of the shelf to run wires through. 17- Inside of side panels I glued decorative plastic aquarium "paper". 18- I cut, glued, and caulked a piece of tin into the inside of the top as a heat sink/reflector for light fixture.
19- Door glass installed and caulked. 20- I fabricated protective screens for the light fixtures out of 1/4 wire mesh. 21- I used a chunk of steel and a hammer for clean "folds" of the mesh.
22- Wire screens in place. 23- Light installed on shelf, and top before installing light ficture. 24- I also installed a 4 watt heating pad to bottom of shelf, and started to run the wires.
25- I had to partially disassemble the top to run the wires inside it. 26- It was easier to work with the cage on its side. 27- I used a wire hanger to help guide the wires through the walls and joints.
28- Coming along nicely! Now to just tighten everything up and fit it together. 29- All wires terminate at the back bottom corner. Looking good! 30- Doors on, wires ready for finishing with switches and plugs.